Let’s be real: I say with full confidence that this is a foolproof salted caramel recipe, because I already failed at it all for you. Seriously—I’ve made every caramel disaster under the sun: sugar bricks harder than concrete, burnt sugar fumes that cleared the house, grainy sugar-and-cream curds, even sugar that looked like scrambled egg whites instead of smooth molten gold.
But each one taught me a crucial lesson. Yup, I turned “I messed it up again” into “Oh—that’s exactly what not to do,” so you don’t have to learn the hard way. And if I can get it right on the first try (without any weird blotchiness, grit, or heartbreak), you definitely can too.

Use a Small-ish Pan—Don’t Overshadow It with the Burner
Here’s one of my earliest, most consistent screw-ups: using a pan that’s just slightly too big for the stovetop ring. At that point, the sugar around the edges would melt too slowly (or worse, not at all), and the edges hardened into tough, crystalline sugar that dragged the whole batch down.
The trick: pick a pan just small enough that its bottom gets beautiful, even heat—right out to the edges. No un-melted spots. No weird “caramel moat” around the perimeter.

Color Is Everything: Off the Heat at Deep Amber, Not Dark
Once the sugar is turned into that glowing, amber-toned liquid, stop. Don’t keep hanging around taking Instagram shots. Let it settle for a moment: when the surface goes from rippling to smooth, with no froth or bubbles—but just looks like glassy, liquid gold—that’s your cue to pull it off the heat.
Wait one second longer? Burned taste. Stop too soon? Bland watery sugar. That sweet amber window is the magic moment.

Warm Butter & Cream Only—Or You’ll Get a Broken, Grainy Mess
One time I learned the hard way: I tossed cold butter and chilly cream into that amber sugar and bam!—everything seized, curdled, and looked like lumpy, inverted mayo (definitely not what I was going for).

So here’s the golden rule: warm or room-temp butter and cream only. Then—especially with cream—add really slowly and whisk constantly. If, despite your best prep, you still end up with curdled or grainy caramel, there’s hope: whisking in a tablespoon or two of extra warm cream and blitzing with a hand-mixer usually brings it back to silky smooth perfection.

Why does caramel harden sometimes?
This happened once when I let the caramel cool too fast—or stored it improperly. It turned into this weird, solid sheet. Turns out, caramel can harden due to crystallization or loss of moisture.
If you heat sugar too much (evaporating too much water), or cool it too rapidly, or store it in a dry spot, it can end up brittle or rock-like. Those sugar molecules rearrange and solidify. The cure? Gentle reheating with some added cream or water smooths it out—at least most of the time.
Choose the Right Salt for Maximum Flavor (and Aesthetic Pop)
You might wonder: “Which salt should I use for salted caramel?” Here’s the scoop:
- Finishing salt or flaky sea salt gives bursts of salty crunch and looks gorgeous on top.
- Kosher salt is fine, too—but it’s coarser, so be mindful with amounts; and it doesn’t pack as much punch per teaspoon because the grains are bigger.
- Table salt works—but watch the amount (it’s dense and salty), and it lacks the visual and flavor nuance of flakier salts.
Bottom line: flaky sea salt = most Pinterest-friendly and taste-friendly finish.

How to Avoid Sugar Crystallizing—And Turn Grainy into Glossy
Crystallization is sugar’s worst enemy in caramel-making: just a single stray crystal can seed your whole batch into gritty chaos. But there are fighter moves you can deploy:
- Wet pastry brush: Dip a clean brush in water and regularly wash down the sides of the pan as sugar cooks. This dissolves any stray crystals.
- Lid trick: Put a lid on the pan briefly. The steam collects and drips dissolved sugar back down the sides.
- Add invert sugar: A little corn syrup, glucose syrup, or honey helps mess with the sugar molecules so they don’t recrystallize.
- Add a touch of acid: A squeeze of lemon juice or a pinch of cream of tartar helps break sucrose into fructose and glucose, which are less likely to crystallize.
- Avoid stirring: Don’t stir once it starts boiling—just swirl gently if needed. Stirring introduces crystals or bubbles that cause crystallization.
- Use a heavy-bottomed pan: It helps heat evenly and avoids hot spots where sugar can burn or crystallize.
Even Reddit buffs will weigh in:
“Cream of tartar, lemon juice, or corn syrup will all work to prevent crystallization. And, of course, NO STIRRING! lol” Reddit
“I add a bit of acid in the form of cream of tartar, lemon juice, or vinegar… use as little water as possible… don’t swirl, just let it caramelize.” Reddit

What’s Salted Caramel Awesome On?
Salted caramel isn’t just a pretty drizzle—it’s a total flavor MVP. Here are the most popular uses:
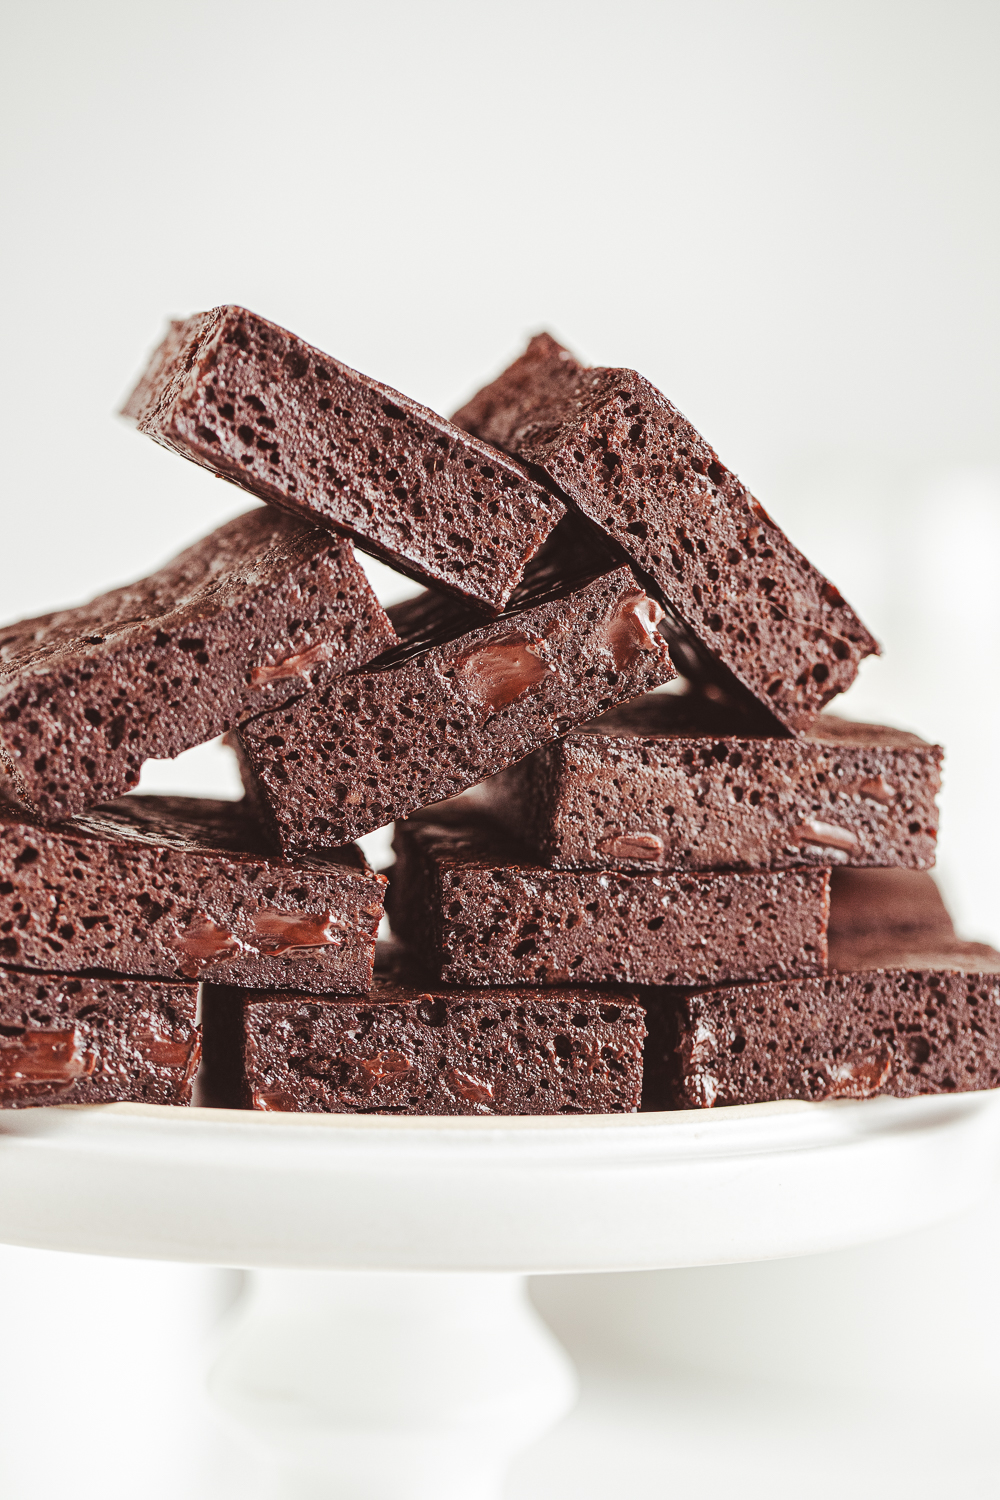
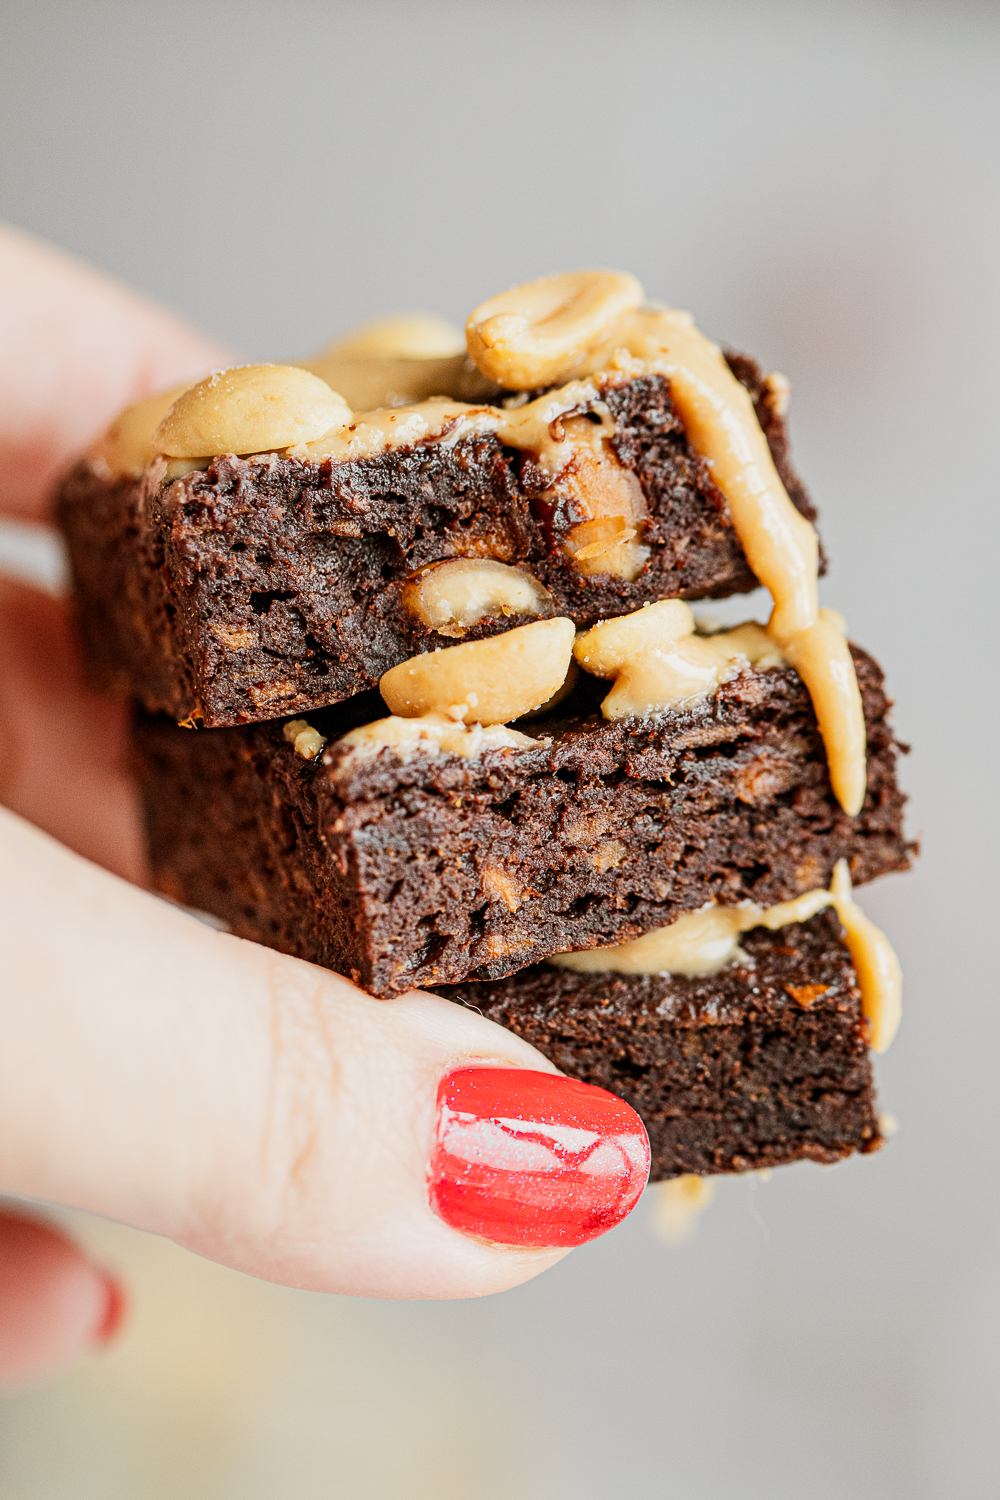
- Drizzled over brownies—swirl it in before baking or spoon it on top right before serving. Here is our fav Pecan- caramel brownies.
- Over ice cream (classic), cheesecake, or pancakes.
- Mixed into coffee for that sweet-salty espresso vibe.
- As a decorative drizzle on cakes or cupcakes.
- In jars for gifting—because who doesn’t want homemade caramel in their life?
It’s such a versatile topping; no wonder folks go wild for it.

In Closing: From Caramel Fails to Sweet Wins
So here’s the TL;DR caramel wisdom (that I totally learned the hard way):
- Use a pan that fits your burner—avoids unmelted edge sugar.
- When the sugar hits that deep amber and surface smooths, pull it off the heat—perfect timing is everything.
- Warm butter and cream only—cold = broken caramel. If it breaks, fix it with warm cream and a mixer.
- Caramel hardens if it’s over-cooked or dried—store wisely or reheat with a splash to fix it.
- Flaky sea salt is the tastiest and most beautiful finish.
- Prevent crystallization with heavy pans, no stirring, side-washing, invert sugar or acid.
- Use your salted caramel everywhere—from brownies to coffee.
And the best part? With these tips, you likely won’t need to “fail for us”—just follow them and enjoy that silky, golden, sweet-and-salty goodness on your first go. Promise.

Easy salted caramel cream
Ingredients
Method
- Step-by-step
- Cut the butter into chunks, warm up the cream a little (10–15 sec in the microwave is enough), and keep everything right next to the stove. Once the sugar melts, things move fast!
- Put the sugar and water in a medium, heavy-bottomed saucepan. Stir just until the sugar looks wet. That’s it—don’t stir again once it starts cooking.
- Turn the heat to medium. The sugar will bubble and slowly turn from clear → pale yellow → golden. If you see sugar crystals on the sides of the pan, brush them down with a wet pastry brush. No stirring—just swirl the pan gently now and then.
- When it hits a deep golden/amber color (kind of like honey turning darker), take it off the heat right away. If you go past that, it can burn and taste bitter.
- Drop in the butter pieces while whisking. It’ll bubble up a lot—don’t panic, that’s normal.
- Slowly pour in the cream while whisking constantly. It’ll foam like crazy at first, then settle into a smooth sauce. If it looks lumpy, put it back on low heat and whisk until smooth again.
- Stir in the salt. That’s your salted caramel sauce!
- Let it sit for 10–15 minutes, then pour into a jar. It’ll thicken as it cools. Store in the fridge for 2–3 weeks. To make it pourable again, just warm it gently in the microwave or in a hot-water bath.