I’ve ruined more batches of brownies than I’d like to admit — not in the oven, but on the cutting board. They came out perfect, smelled incredible, looked exactly right. And then I grabbed a knife too soon. If you’ve ever ended up with a tray of beautiful-smelling, ugly-looking brownies, this one’s for you.
The Real Reason Your Brownies Fall Apart When You Cut Them
A brownie is not a cake. This sounds obvious, but it’s actually the key to understanding why cutting timing matters so much.
A sponge cake is built on air — whipped eggs, flour structure, bubbles. It sets firm in the oven and stays firm. A brownie is built on fat: butter, chocolate, sometimes oil. It’s a dense, rich emulsion, and when it comes out of the oven, that emulsion is still liquid. The fats are hot and fluid, the sugar is still syrupy, and the whole thing — even if it looks solid from the outside — is essentially still molten on the inside.
When you cut into a warm brownie, you’re not slicing. You’re pushing. The knife drags the top layer, smears the fudgy center, and tears the edges instead of cutting through them cleanly. That’s not a skill issue. That’s just physics.
What Happens When You Wait
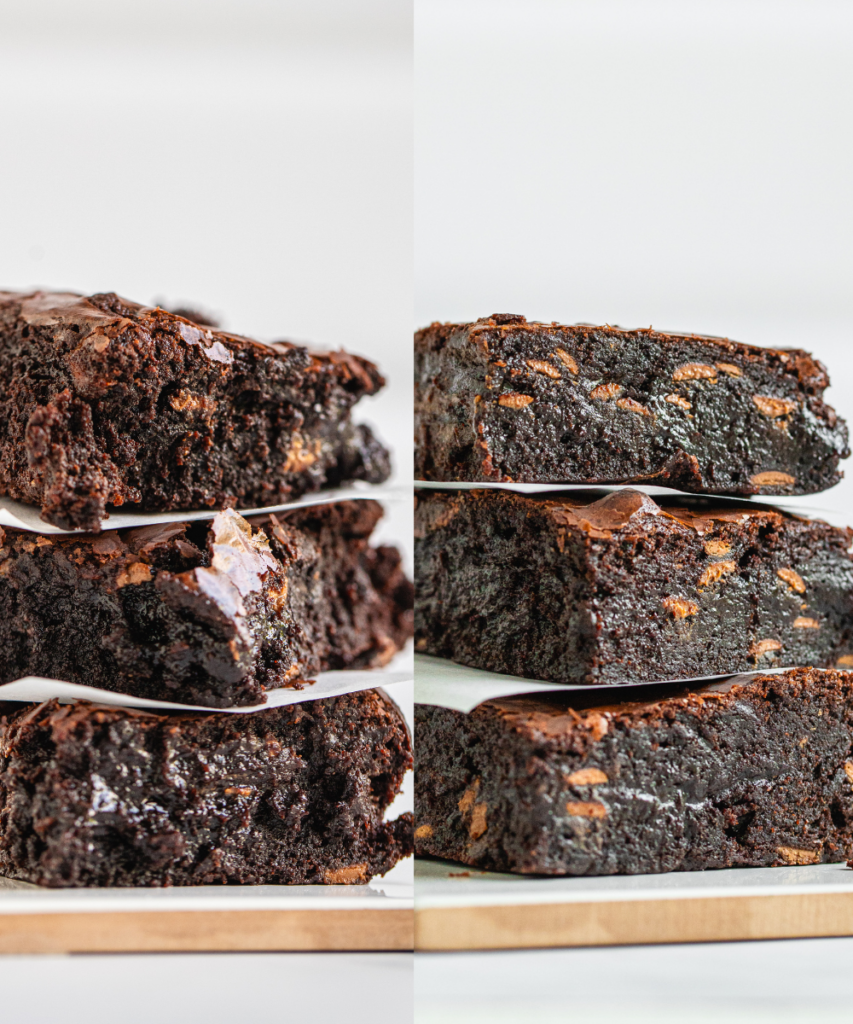
Give your brownies time to cool, and something almost magical happens. The butter solidifies. The chocolate sets. The sugar crystallizes just enough to give the whole structure integrity. That soft, molten center transforms into exactly what you were hoping for: dense, chewy, fudgy — and now actually cuttable.
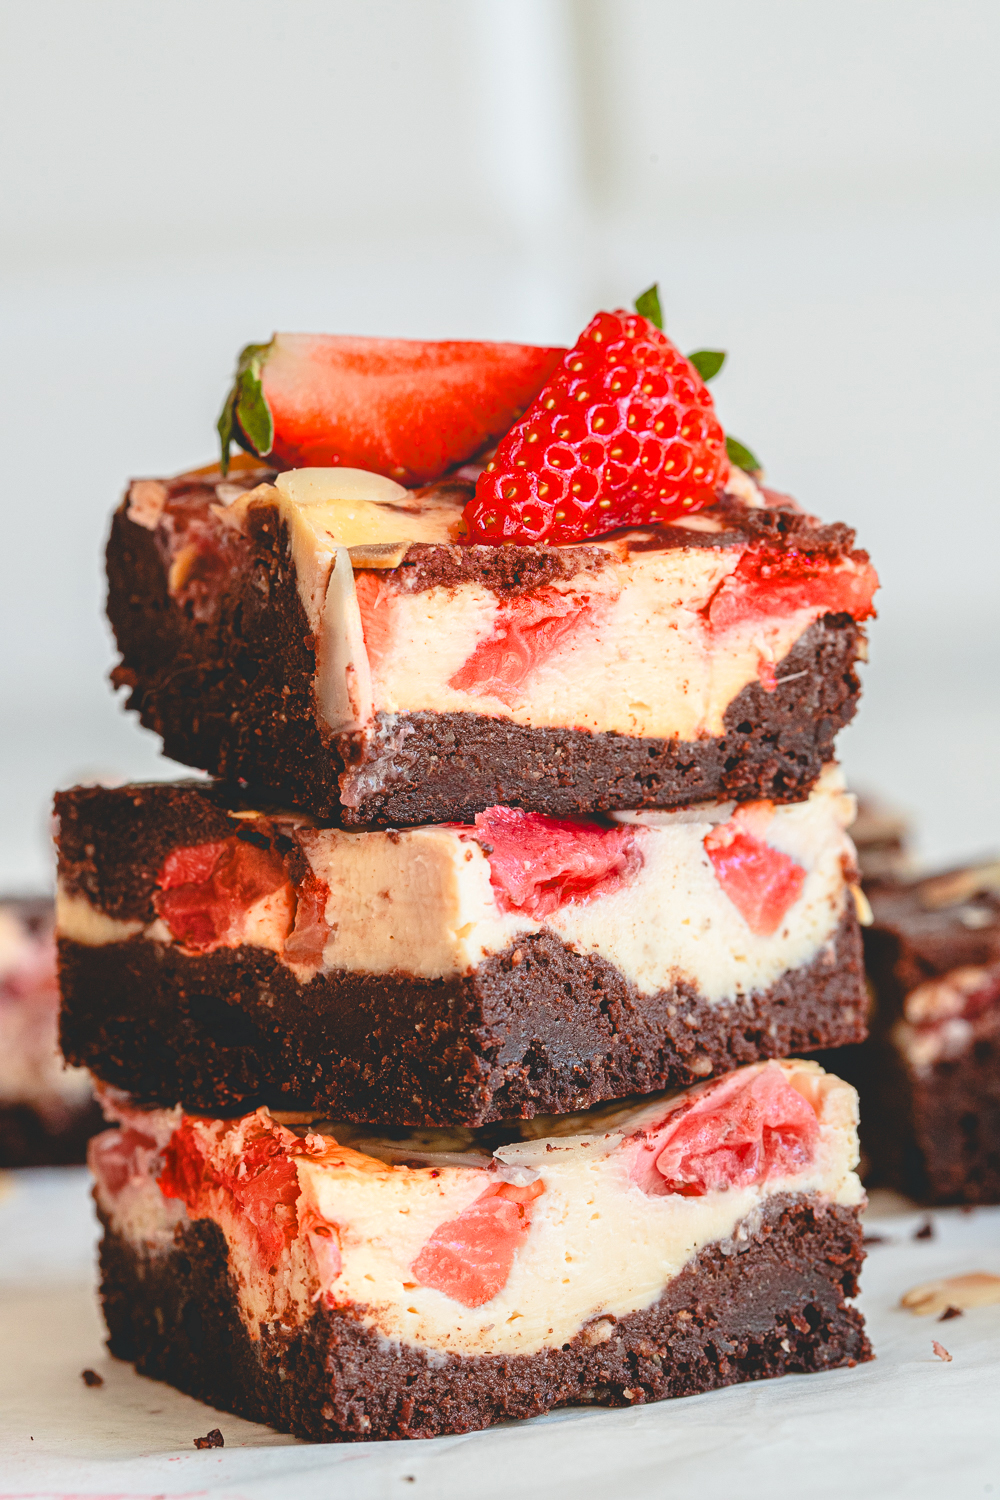
The difference isn’t subtle. A properly cooled brownie holds its shape the moment the knife goes through. The edges are clean, the layers stay intact, and that glossy, crackly top doesn’t shatter or peel off. This is the version worth photographing. This is the version worth serving.
How Long Should You Actually Wait?
At minimum, let your brownies cool to room temperature — that’s roughly 2 hours on the counter, depending on how thick your batch is. This gets you decent results.
But if you want truly clean, sharp, bakery-style cuts? Put them in the fridge for at least 2 hours after they’ve reached room temperature. Cold brownies cut like a dream. The fats firm up completely, the texture becomes almost sliceable like a chilled chocolate bar, and every cut stays exactly where you put it.
I know it’s hard to wait four hours when your kitchen smells like a chocolate factory. But I promise you: the brownie you eat after waiting is a fundamentally better brownie than the one you’d eat warm out of the pan.
How to Cut Them (The Right Way)
Once your brownies are fully chilled, here’s exactly what I do for clean, professional-looking slices every single time.
Step 1: Lift them out of the pan. Always bake with parchment paper, leaving an overhang on both sides. Once cooled, grab the overhang and lift the entire block out onto a cutting board. Trying to cut brownies in a metal pan is fighting against yourself — you can’t get a full, clean stroke and the pan gets in the way.
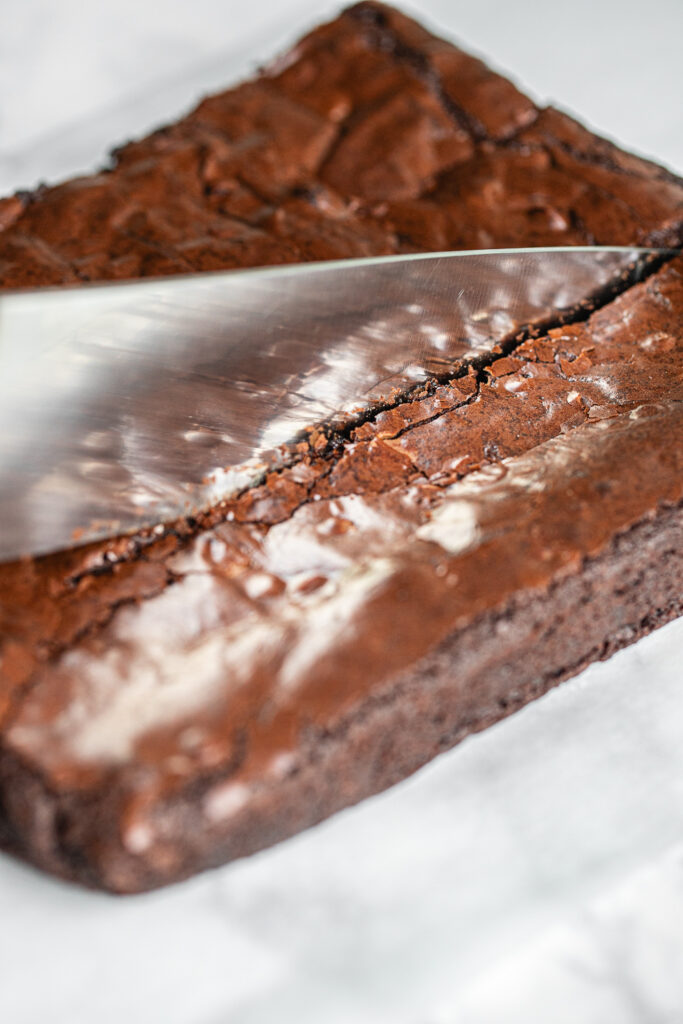
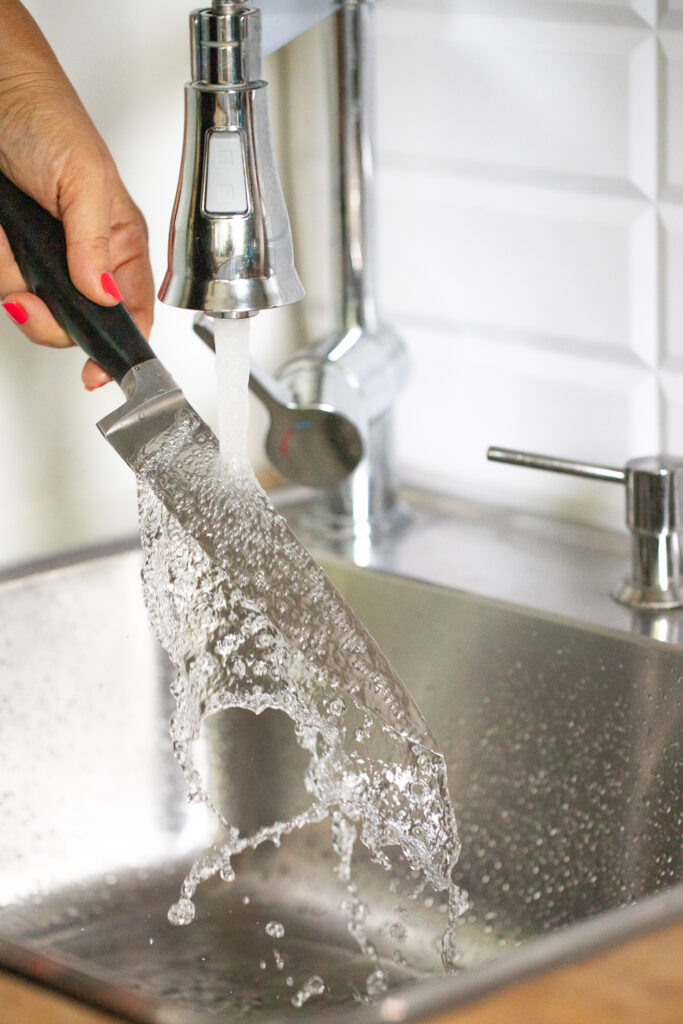
Step 2: Use a hot knife. This is the step that changes everything. Run your knife under hot tap water for a few seconds, then wipe it completely dry with a clean kitchen towel. Make one long, confident cut — don’t saw, just press straight down. Then clean the knife, reheat it, and repeat for every single slice.
It sounds fussy. It’s worth it every time.
Step 3: Cut with intention. Decide your grid before you start. If you want 16 squares, make your cuts in one direction first, then the other. Commit to each cut — one confident downward motion per slice, no dragging.
The Payoff
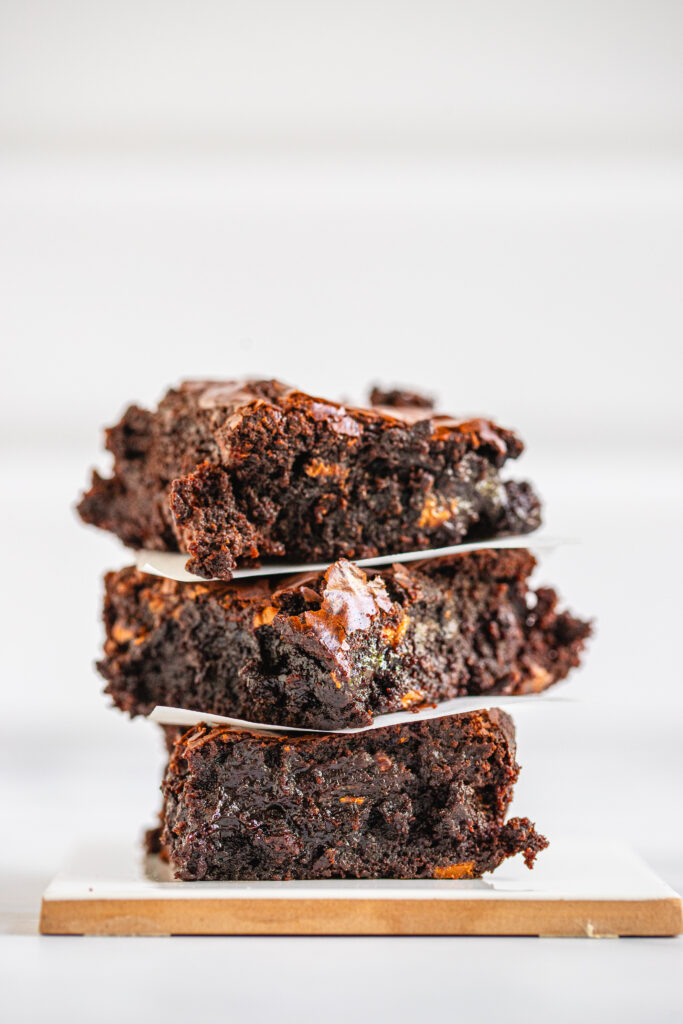
Follow these steps and you’ll end up with brownies that look as good as they taste — fudgy all the way through, clean edges, shiny top intact. The kind of squares you actually want to stack up and photograph. The kind that make people ask you what your secret is.
The secret is just patience. And a warm knife.
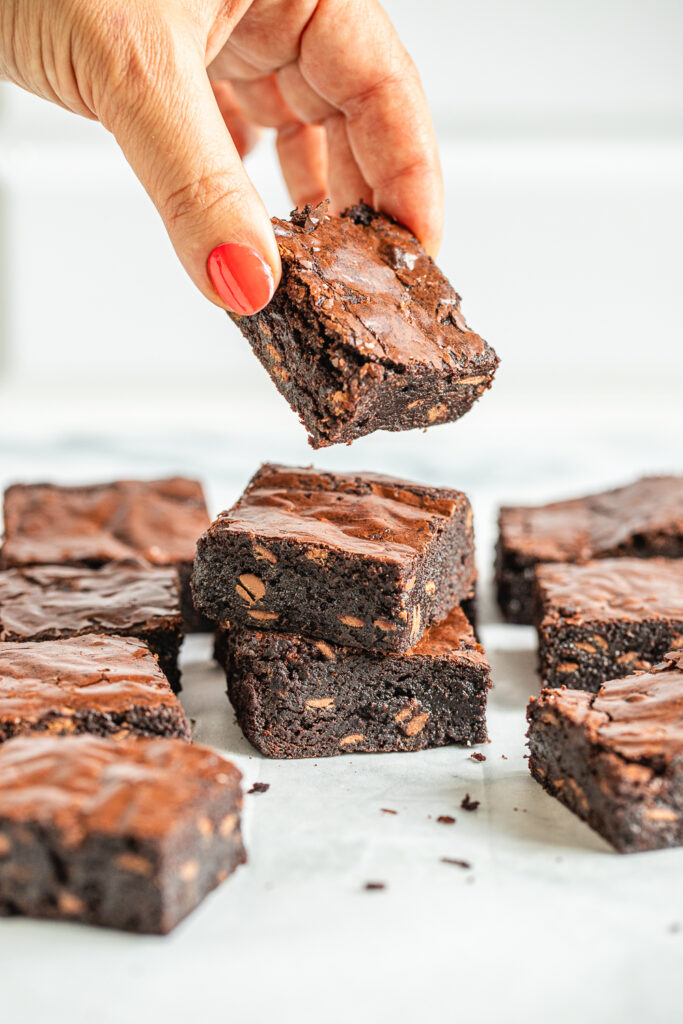
Loved this tutorial? The brownies you see in these photos are from my CLASSIC FUDGY BROWNIE — tried, tested, and worth every minute of the wait.